Want to create a poll for your website or blog? You can do it in minutes using Wide Angle Analytics. Wide Angle Analytics is a web analytics tool that lets you track custom events on your website. In this tutorial, we will show you how to create a serverless poll using Wide Angle Analytics.
Step 1: Create a simple HTML page
First, create a simple HTML page with a question and multiple choice answers. Here is an example of a simple poll:
<!DOCTYPE html>
<html>
  <head></head>
  <body></body>
</html>
While at it, you can also add some CSS to style to it. I am a big fan of Tailwind CSS, so I will use it in this example. The simplest way to get started with Tailwind CSS is to include it in your HTML file using a CDN. Add the following line to the <head> section of your HTML file:
<head>
    <!-- Include Tailwind CSS -->
    <script src="https://cdn.tailwindcss.com"></script>
    <!-- ... -->
</head>
Step2 : Add the poll question and answers
To get started with our polls, we need to add the poll question and answers to our HTML file. In this example we are embracing a holly war between popular JavaScript frameworks. Let’s ask our audience if they prefer Vue, React or Angular. Here is the HTML code for the poll:
<body class="w-full min-h-screen flex flex-col justify-center items-center">
    <section class="flex flex-col gap-4">
        <h1 class="text-2xl text-center">Best JS Framework<br/>a poll with Wide Angle Analytics</h1>

        <section class="flex flex-col gap-4" id="poll">
            <div class="flex flex-row justify-between">
                <label for="vue">Vue</label>
                <input type="radio" id="vue" name="js-framework" class="w-6 h-6"/>
            </div>

            <div class="flex flex-row justify-between">
                <label for="react">React</label>
                <input type="radio" id="react" name="js-framework" class="w-6 h-6"/>
            </div>

            <div class="flex flex-row justify-between">
                <label for="angular">Angular</label>
                <input type="radio" id="angular" name="js-framework" class="w-6 h-6"/>
            </div>

            <button class="bg-pink-400 rounded-2xl p-4">Send</button>
        </section>
    </section>
</body>
Once you open your page in the browser, you should see the poll question and answers, as well as a “Send” button:

If you are testing the website locally, on your computer, you will need to serve the HTML file using a local server. One of the easiest way to achieve that is with Python. Open a terminal, navigate to the directory where your HTML file is located, and run the following command:
python -m http.server
That’s it! You should now be able to access your website at http://localhost:8000 in your browser.
Step 3: Sign up for Wide Angle Analytics
Before we can track custom events on our website, we need to sign up for Wide Angle Analytics. Wide Angle Analytics is a analytics tool that lets you track custom events on your website. You can sign up for Wide Angle Analytics at https://www.wideangle.co. Here is a direct link to quick start guide.
Once you have signed up for Wide Angle Analytics, you will receive a tracking code that you need to add to your website. Add the following line to the <head> section of your HTML file:
<script async defer src="https://stats.wideangle.co/script/D63FG3B9ACB16F42D8.js" data-waa-late-init="true" id="waa"></script>
<script type="application/javascript">
    var waaScript = document.querySelector('#waa');
    waaScript.addEventListener('load', function() {
      waaCreate().then(waa => { window.analytics = waa; });
    });
</script>
The above script is necessary to enable Custom Events API. It will load Wide Angle Analytics script and create a global window.analytics object that you can use to track custom events on your website.
Make sure to use your own tracking code in the src attribute of the <script> tag.
Step 4: Perform an action when the user clicks the “Send” button
Now that we have our poll question and answers, we need to perform an action when the user clicks the “Send” button. In this example, we will use JavaScript to send an event to Wide Angle Analytics when the user clicks the “Send” button. Here is the JavaScript code for the poll:
<script>
    document.querySelector('button').addEventListener('click', function() {
        const selection = document.querySelector('input[name="js-framework"]:checked').id;
        window.analytics.dipatchEvent('poll', { vote:  selection });
    });
</script>
You can find full sourcecode of the HTML file in the GitHub gist.
Step 5: Check the poll outcomes in Wide Angle Analytics
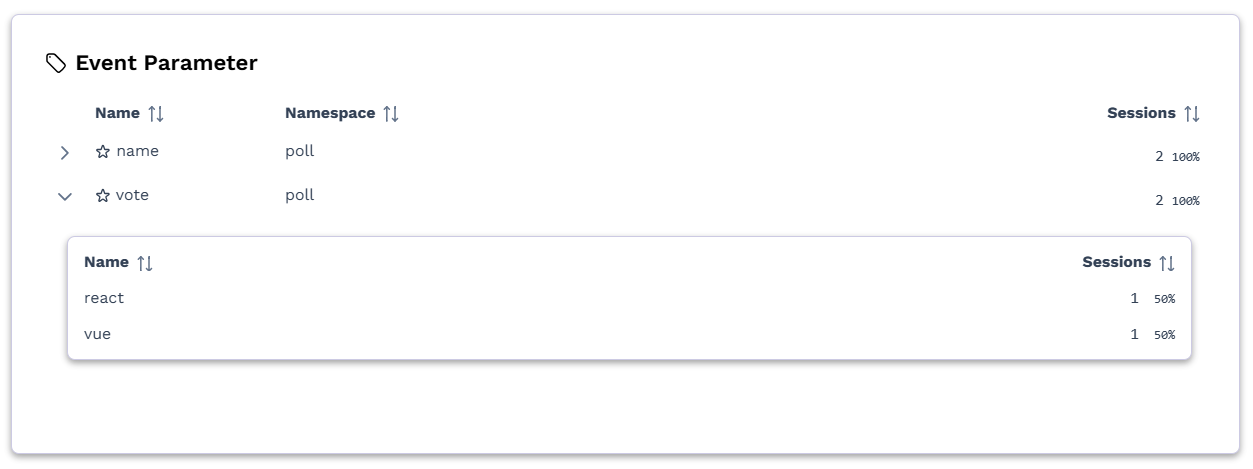
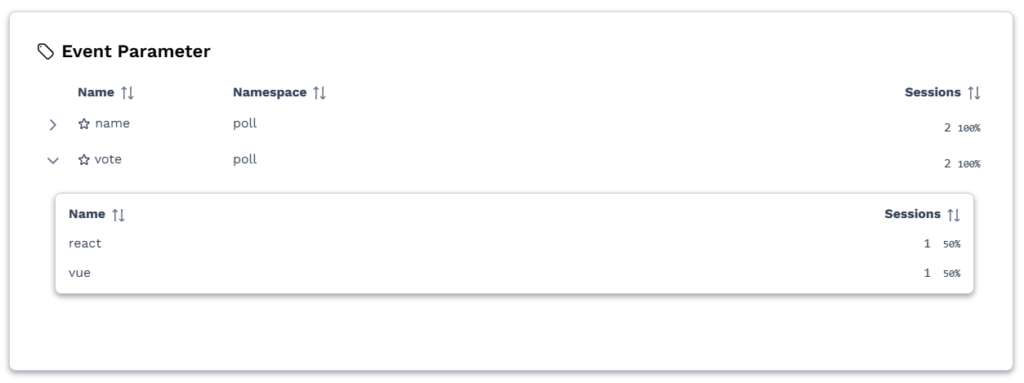
Now that we have created our poll and added the necessary tracking code, we can check the poll outcomes in Wide Angle Analytics. Log in to your Wide Angle Analytics account and navigate to your site and select Values dashboard.

You should see the poll outcomes in the “Values” dashboard. You can use this data to analyze the results of your poll and make informed decisions based on the feedback from your audience.
That’s it! You have successfully created a serverless, or if you prefer – low-code, poll using Wide Angle Analytics. You can use this method to create polls for your website or blog and track custom events using Wide Angle Analytics. Happy polling!
Jarek Rozanski is the Founder of Wide Angle Analytics. After a successful career in investment banking and financial services, he decided to explore the world of start-ups and eventually start his own. Privacy, one of our basic human rights, needs strong protection according to Jarek.


